A renovation starts Monday, the warehouse is already full, and the materials that need protection are still arriving. A school may need classroom equipment out of the way, a clinic may need supplies close to an active work area, or a contractor may need tools and fixtures at a jobsite without sending crews across town. In each case, storage trailers rental can solve the space problem, but only when the site, load, access pattern, and contract are treated as one operational system.
A trailer is not just an empty box delivered to a convenient address. Its usefulness depends on whether a transport vehicle can reach the placement area, whether the ground can support it, whether doors can open safely, and whether staff can load and unload without exposing people or cargo to unnecessary risk. The following guide approaches the rental from a facilities-management perspective, where budget control matters just as much as safe, reliable access.
Table of Contents
- The Shift Toward Flexible Storage Solutions
- Choosing the Right Size and Features for Your Needs
- Understanding the True Cost of a Storage Trailer Rental
- Site Preparation and Permitting Essentials
- Safe Loading and Unloading Procedures
- Cargo Securement and Ongoing Maintenance
- Delivery Inspection and Return Protocol
The Shift Toward Flexible Storage Solutions
A renovation can leave a facility with full warehouses, restricted rooms, and materials arriving before the work is complete. In that situation, a rented storage trailer can keep supplies near the point of use, but only if the placement area, loading plan, and cargo security are reviewed before delivery.
The U.S. storage market shows how temporary capacity became a regular operating option. The country had approximately 6,600 self-storage buildings in 1984, compared with about 50,000 facilities by 2022, with national capacity estimated at roughly 2.3 billion square feet. Nearly 10% of Americans rented storage space in that estimate, according to Governing's overview of the growth of American storage.
The model developed from specialized warehousing. In 1891, the Bekins brothers opened furniture warehouses for people relocating westward. The first facility resembling modern self-storage opened in Odessa, Texas, in 1964, as the same historical account describes. Fixed facilities and rented trailers serve recurring needs such as relocation, renovation, inventory overflow, and business continuity, while trailers place capacity closer to active work.
Where portable capacity earns its place
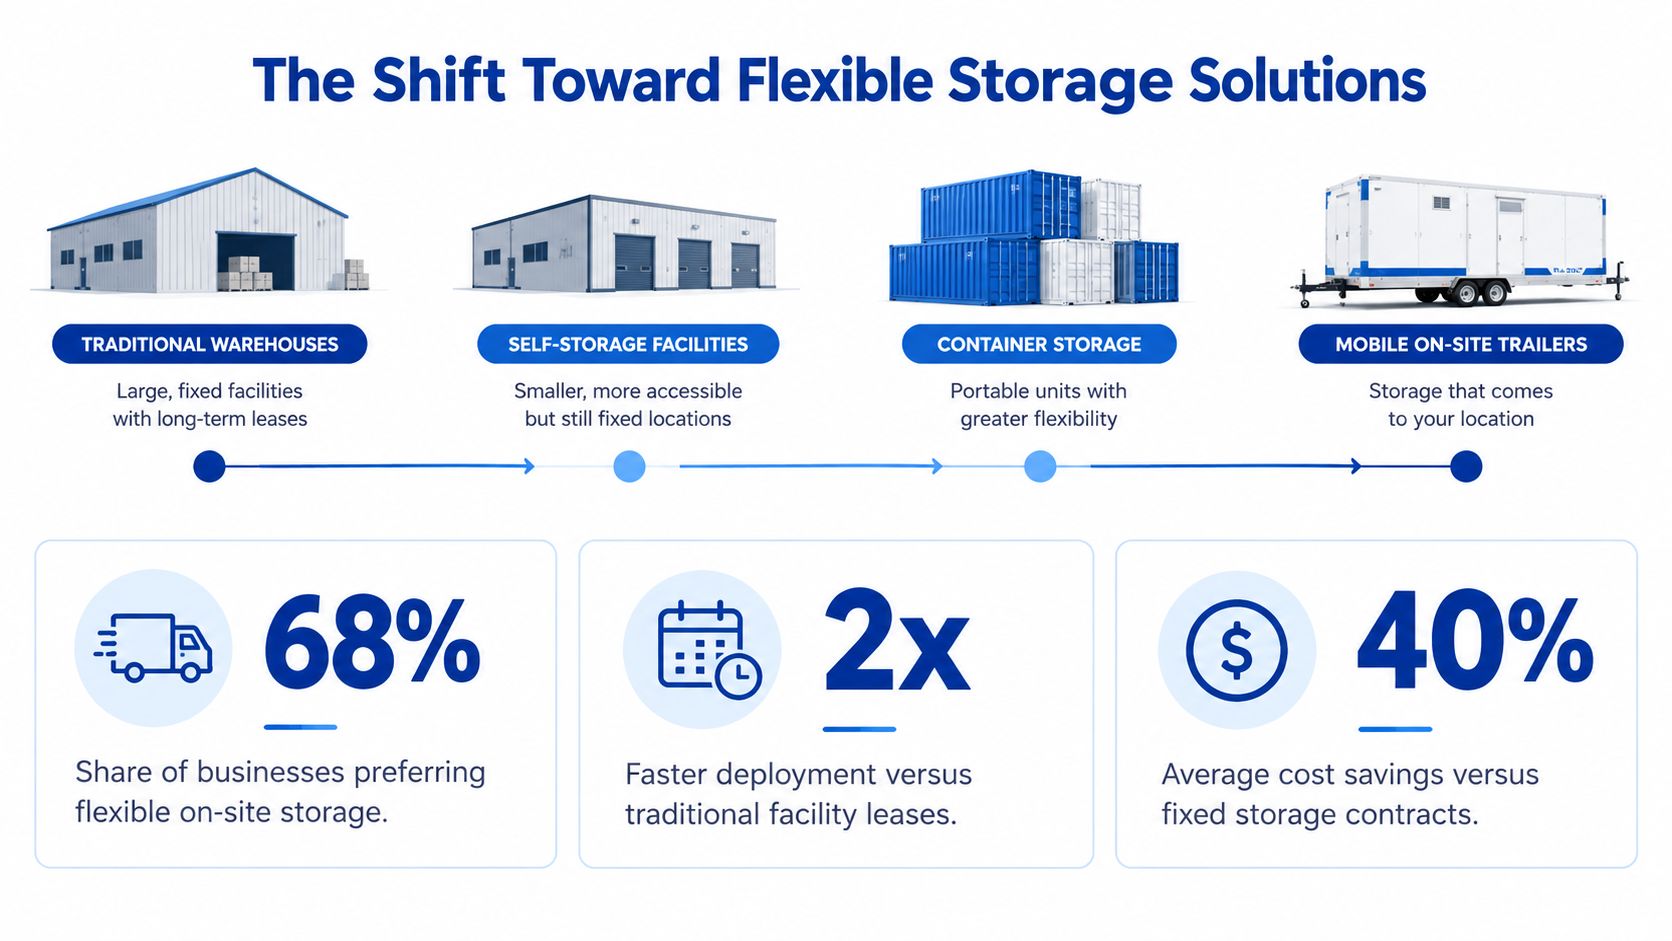
A fixed facility suits goods that can remain off-site with scheduled access. A trailer fits better when staff need materials at a school, jobsite, clinic, municipal property, or commercial location. The trade-off is operational: placing storage nearby can reduce travel and handling, but it also introduces questions about ground bearing, delivery clearance, door access, weather exposure, lighting, and how loads will be restrained during repeated access.
The broader paid-storage category has durable customer familiarity. An industry review reports that household self-storage use rose from about 6% in 2000 to approximately 12% today, while the cited NCREIF index recorded an average annual self-storage investment return of 11.6% from 2006 onward. These figures describe fixed self-storage rather than trailer rentals, but they provide context for treating temporary storage as a planned operating expense. The figures appear in the Inland 2025 Self-Storage Sector Review.
Define the disruption before requesting a quote:
- Renovation: Materials need protection while the permanent room remains inaccessible.
- Overflow: Inventory or equipment exceeds warehouse capacity for a defined period.
- Temporary relocation: A department needs nearby space while a building, floor, or jobsite changes.
- Continuity planning: Replacement supplies must remain accessible if normal storage becomes unavailable.
For organizations evaluating portable storage containers, the decision rests on more than volume. Confirm that the trailer can be positioned safely, loaded with the available equipment, and secured against shifting, unauthorized access, and weather without creating a new site hazard.
Choosing the Right Size and Features for Your Needs
The correct unit is determined by how often staff access the contents, not just by the amount of material that needs to fit inside. A unit that holds everything but forces awkward unloading can cost more in labor and risk than a slightly different configuration with better access.
Start with the workflow
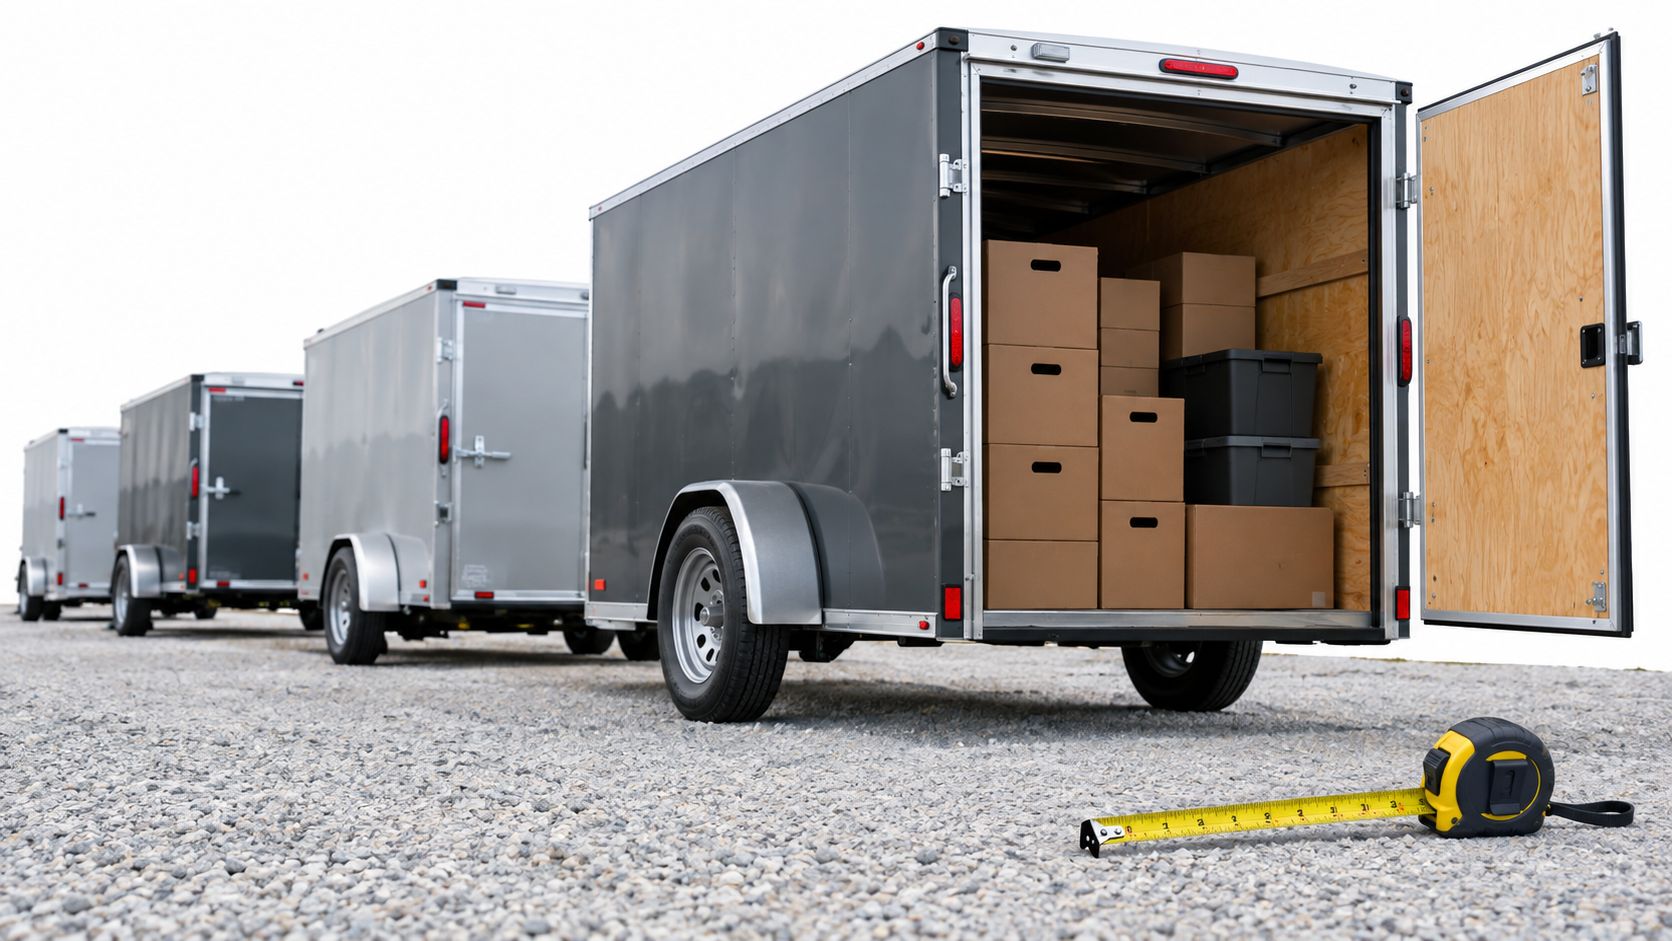
Facilities teams should map the material flow before discussing dimensions with a rental provider. The assessment should identify the largest item, the heaviest item, the frequency of access, the equipment used for handling, and whether staff load from a dock or from ground level.
A dock-height enclosed trailer can suit palletized inventory moving directly from a loading dock. It may be inefficient for a construction crew carrying irregular materials by hand. A ground-level container can simplify pedestrian access, but it may require ramps, steps, lighting, and a firm approach surface. An office/storage combination can support a supervisor or records function alongside materials, but dividing space between work and storage changes the layout and security requirements.
The shipping container storage unit options provide a useful comparison point for teams considering ground-level access rather than a dock-height trailer.
Match features to the site
| Operating need | Feature to evaluate | Why it matters |
|---|---|---|
| Frequent pallet movement | Dock height and forklift approach | Reduces unnecessary transfers between levels |
| Daily hand access | Ground-level doors and clear approach | Makes small-item retrieval more practical |
| Fragile equipment | Interior protection and organized blocking | Limits movement and contact damage |
| Mixed school or clinic supplies | Shelving, aisle planning, and access control | Keeps frequent-use items separate from dense storage |
| Construction materials | Floor condition, door clearance, and load distribution | Supports irregular shapes and concentrated loads |
A school may need labeled equipment grouped by classroom or department, while a clinic may need controlled access and clear separation between supplies. A construction firm may prioritize rugged loading access and the ability to keep tools near the active work area. Each use case changes the best configuration even when the overall volume looks similar.
The following video can help facilities personnel visualize operational considerations before selecting a configuration.
Ask for operating dimensions, not marketing labels
A quote should identify usable interior dimensions, door opening dimensions, floor rating, access height, delivery limitations, and included accessories. It should also state whether the unit is intended for on-site storage, transport, or both. That distinction affects securement, placement, and the responsibilities assigned to the customer.
The most workable selection usually leaves enough room for safe movement and inspection. Filling every available corner may maximize nominal capacity, but it can hide damaged goods, block exits, and force staff to climb over material. A smaller unit with disciplined organization can outperform a larger unit that becomes inaccessible after the first delivery.
Understanding the True Cost of a Storage Trailer Rental
A trailer can look affordable on the quote and become expensive once the site, handling plan, and contract are accounted for. Monthly rent is only one part of the decision. Delivery, pickup, relocation, site storage, and end-of-rental charges can change the total substantially.
Current storage trailer rental rate guidance places monthly estimates at roughly $95 for a basic 20-foot unit, $275 to $300 for a 40-foot unit, and approximately $840 for some configurations. Delivery and pickup may each add $75 to $200, while off-site storage can add $100 or more per month. For a broader view of storage container rental rates, compare the quoted unit price with every service charge tied to your site.
These figures support budgeting, not approval of a specific quote. A provider still needs to confirm access conditions, loading requirements, rental duration, and the charges that apply if the unit cannot be delivered as scheduled.
Build the full cost picture
Request a written schedule that separates recurring charges from one-time costs. The quote should identify:
- Mobilization: Delivery, pickup, relocation, fuel surcharges, and accessorial charges.
- Contract exposure: Deposit requirements, billing start date, automatic renewal, notice period, and early termination.
- Condition charges: Cleaning, floor damage, door or latch damage, missing accessories, and repairs.
- Placement costs: Site preparation, permits, temporary surfacing, ramps, steps, lighting, or security measures.
- Storage location: On-site placement or storage at a provider yard, including retrieval and redelivery charges.
A low monthly rate can lose its advantage if the trailer needs repeated relocation or staff must rely on expensive handling equipment. A higher-rate configuration may cost less overall when it reduces mobilization, speeds loading, or keeps materials beside the work area. Cargo securement also affects labor. A unit that requires additional blocking, straps, or internal separation may take longer to load, even when its rental rate is lower.
Compare the operating alternatives
A dock-height trailer can suit a warehouse with an available dock and regular forklift traffic. A ground-level container may work better where pallets are not the primary load or no dock is available. An office and storage combination can support a project needing secure materials and a staffed site, but price it against separate office and storage arrangements.
Compare the alternatives using rental duration, access frequency, handling method, and site location together. One delivery and one pickup create a different cost profile from a long rental involving partial unloading, relocation, and repeated access.
For example, a 40-foot unit at $275 per month, with two $200 mobilizations and one $150 site-preparation charge, runs approximately $975 over a six-month rental. That total is 36% above the monthly rental rate alone. If the trailer sits idle for three months awaiting site approval, the effective cost rises further without providing storage capacity.
Contract review also needs operational attention. A renewal clause can extend charges after a project ends, while a strict notice period can make early pickup more expensive than expected. Record the intended removal date, notice deadline, and condition-report process before delivery.
Site Preparation and Permitting Essentials
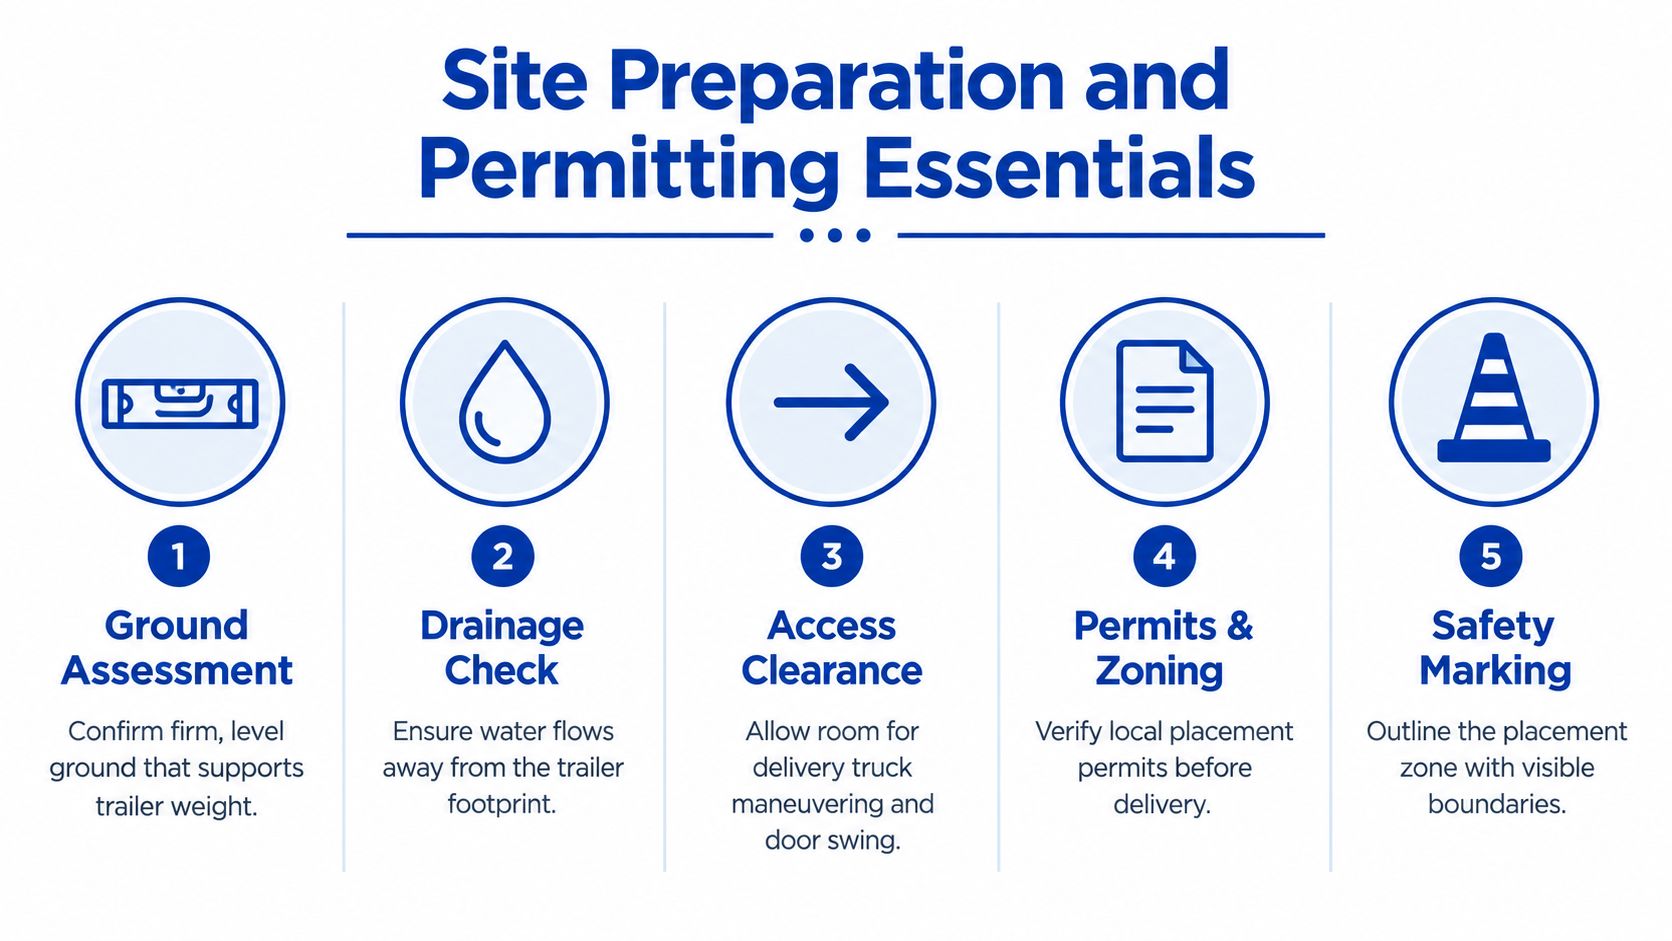
A trailer can be structurally sound and still fail the site check. I have seen rentals delayed by soft ground, poor drainage, blocked access, overhead utilities, and a door swing that became unusable after placement. These problems affect more than delivery timing. They can also force unsafe workarounds during loading, especially when staff must move cargo around a trailer instead of using the planned access point.
Inspect the placement area
Walk the proposed footprint with the rental provider's delivery requirements in hand. The surface must be firm and level enough for the trailer, transport equipment, and intended handling method. A yard that looks stable in dry weather may soften after rain, creating problems for forklifts, pallet jacks, stabilizing equipment, or temporary ramps.
Check drainage separately. Water should flow away from the footprint rather than collect beneath or around the unit. Standing water can weaken the approach, restrict access, hide surface defects, and make routine inspections harder, even if the trailer itself resists weather.
Confirm the delivery path
Inspect the route from the public road to the final position. Mark gates, tight turns, low branches, overhead utilities, parked vehicles, fire lanes, pedestrian routes, and the space the carrier needs to maneuver. Confirm that the door side remains accessible after placement. A visible door is not useful if a fence, stored material, or parked vehicle prevents safe approach.
Use a site drawing or marked photograph to align the facilities team, carrier, and contractor. Show the trailer footprint, access side, exclusion areas, utilities, drainage direction, and any temporary ramps or steps. Include the planned route for equipment and the space needed to secure cargo inside the unit without obstructing the entrance.
Resolve authorization before dispatch
Requirements vary by municipality and property type. Before scheduling delivery, verify zoning, permits, fire access, property-owner approval, and site rules for schools, healthcare facilities, government locations, and industrial properties.
The site preparation and permitting checklist highlights loading-area hazards, powered-industrial-truck movement, dock edges, and pedestrian separation. That guidance matters when a trailer becomes an active work area rather than passive storage.
Keep an approval file with site photos, delivery instructions, permit confirmation, surface assessment, emergency-access confirmation, and the name of the person authorized to accept the unit. This record prevents a carrier from arriving at a location that looks accessible on a map but cannot safely receive, position, or support the trailer.
Safe Loading and Unloading Procedures
A New York State FACE investigation documented 2,633 loading and unloading incidents involving injury or death from 1984 through 2018, with 1,439, or 55%, classified as fatalities. Those figures appear in the New York State FACE investigation report. The data does not describe every storage-trailer operation, but it shows why loading and unloading require a written procedure rather than an informal handoff.
Before opening the trailer, assign clear roles: the driver manages vehicle positioning and departure, the site supervisor enforces the exclusion zone and access permissions, and trained operators handle mechanical loading, with no improvisation at the trailer door.
Control the trailer door
Establish the exclusion zone before anyone releases a latch. Keep pedestrians, visitors, and unassigned workers outside it. From the side of the doors, inspect the latches, floor, visible cargo, and signs that material has shifted. Never stand directly in front of a door that could release leaning or unstable items.
Release restraints progressively, pausing whenever the remaining cargo changes position. If a door resists opening, stop and reassess rather than forcing it. A damaged latch, compromised floor, or leaning load requires the rental company and site supervisor to agree on the next step before work continues.
Match the method to the phase
Loading gives the crew control over placement. Put dense materials low, keep weight distributed, and leave a workable path for the planned unloading sequence. Avoid stacking items in a way that traps restraints or requires workers to reach beneath suspended material.
Unloading demands the same discipline in reverse. Remove items in an order that preserves the remaining load's stability, and keep workers clear of leaning, rolling, or suspended materials. Use a forklift or pallet jack only on a verified level surface that supports both the equipment and its load. Confirm operator qualification and maintain separation between equipment travel paths and pedestrians.
OSHA identifies trailer interfaces and loading docks as fall and struck-by hazards. Its guidance addresses fall protection where working surfaces are 4 feet or more above a lower level, as well as dockboards, pedestrians, powered industrial trucks, and trailer movement. The OSHA warehousing hazards guidance supports wheel chocks or another vehicle-restraint method during loading and unloading.
For raised platforms or equipment mounted to a truck or trailer, review trailer mounted EWP operation tips as a training resource. It does not replace site-specific instruction, operator qualification, or the rental provider's requirements.
Record who entered the trailer, which equipment was used, any shifted or damaged cargo, and the condition after partial unloading. Do not release the trailer until the remaining contents are stable and the condition report is complete.
Cargo Securement and Ongoing Maintenance
A parked trailer isn't automatically a safe trailer. Cargo can shift during movement, partial unloading can remove the support that held other items in place, and straps or anchor points can deteriorate during the rental. Securement therefore needs a documented method at loading, after significant changes, and before any movement.
Use four loading controls
Verify the unit and site. Confirm the trailer's rated capacity, floor condition, access clearance, and bearing surface. Staff should resolve uncertainty before dense or irregular material enters the unit.
Distribute weight low and evenly. Dense material belongs low, with concentrated axle or floor loads avoided. The arrangement should account for the floor and the intended movement of the trailer, not only the available volume.
Control every movable item. Block, brace, or tie down anything that could shift, roll, leak, fall, or blow out. Edge protection matters where straps may abrade or cut against sharp material.
Inspect before departure and during transit. The pre-departure inspection should confirm that restraints and anchor points are intact. A transit recheck is necessary when the load has moved, when the trailer has been partially unloaded, or when conditions may have affected securement.
Under FMCSA cargo securement rules, the securement system must resist forces equal to 0.8 g forward, 0.5 g rearward, and 0.5 g laterally, and its aggregate working-load limit must be at least 50% of the cargo weight. For cargo longer than 10 feet that isn't blocked against forward movement, the baseline is two tiedowns for the first 10 feet plus one additional tiedown for every additional 10 feet or fraction.
Inspection standard: Zero unsecured items, no damaged straps or anchor points, and photographs taken before dispatch.
Maintain the unit during the rental
Routine checks should cover door operation, latches, seals, floor condition, anchor points, lighting, water intrusion, and the approach surface. Staff should keep aisles and emergency access clear, record any damage promptly, and report defects before they become a loading failure.
Partial unloading deserves special care. A stack that was stable when surrounded by other cargo may lean after adjacent material is removed. Remaining contents should be reblocked or retied, and the condition should be photographed before the trailer is closed.
Delivery Inspection and Return Protocol
The delivery inspection begins before the driver leaves. A facilities coordinator should compare the delivered unit with the rental agreement, confirm the placement, and create a dated record of its condition. Photographs should cover all accessible sides, the roofline where visible, doors, latches, seals, floor, walls, lights, tires or landing equipment where applicable, and any existing dents or surface damage.
A written condition report matters because memory becomes unreliable once the trailer has been loaded. The coordinator should note scratches, punctures, bent hardware, floor deterioration, water marks, missing accessories, and cleanliness issues. The rental provider and customer should retain the same signed or electronically acknowledged record.
Check the operating condition
The unit should be tested in the condition in which it will be used. Doors should open and close without abnormal resistance, latches should engage, and the floor should be inspected for soft areas or damage that could affect carts, pallet jacks, or stored materials. The placement should also be checked against the approved site plan, including access, drainage, emergency routes, and pedestrian separation.
During the rental, significant events should be added to the record. A relocation, impact, leak, forced entry, partial unloading, or repair request can affect the final assessment. Photographs should show both the condition and the surrounding context rather than relying on close-ups alone.
Close the rental deliberately
Before pickup, staff should remove all contents, sweep the interior as required by the agreement, remove temporary labels or fixtures, and photograph the empty unit. The final inspection should compare the empty condition with the delivery record, document any new damage, and confirm which accessories are being returned.
The carrier should receive clear pickup instructions, including the approved access route and any site restrictions. A copy of the final condition report should be retained with the quote, delivery record, invoices, and service communications.
The complete lifecycle is straightforward when each stage has an owner: procurement confirms the contract, facilities confirms the site, trained operators control handling, staff document securement, and the coordinator closes the condition record. That discipline protects the budget while keeping the trailer useful instead of turning it into an unplanned source of delay.
Pacific Mobile Structures, Inc. offers mobile office and storage trailers, ground-level office and storage containers, and relocatable modular spaces for education, healthcare, government, construction, and commercial sites. Facilities teams evaluating storage trailers rental can review its configurations and delivery-oriented solutions by visiting Pacific Mobile Structures, Inc..